Using the Calendars

How to use the Deployment Calendar

Use the Deployment calendar to get an overview of upcoming jobs and blackout periods. With the required role, you can use the calendar to locate conflicting jobs and move them using drag and drop.

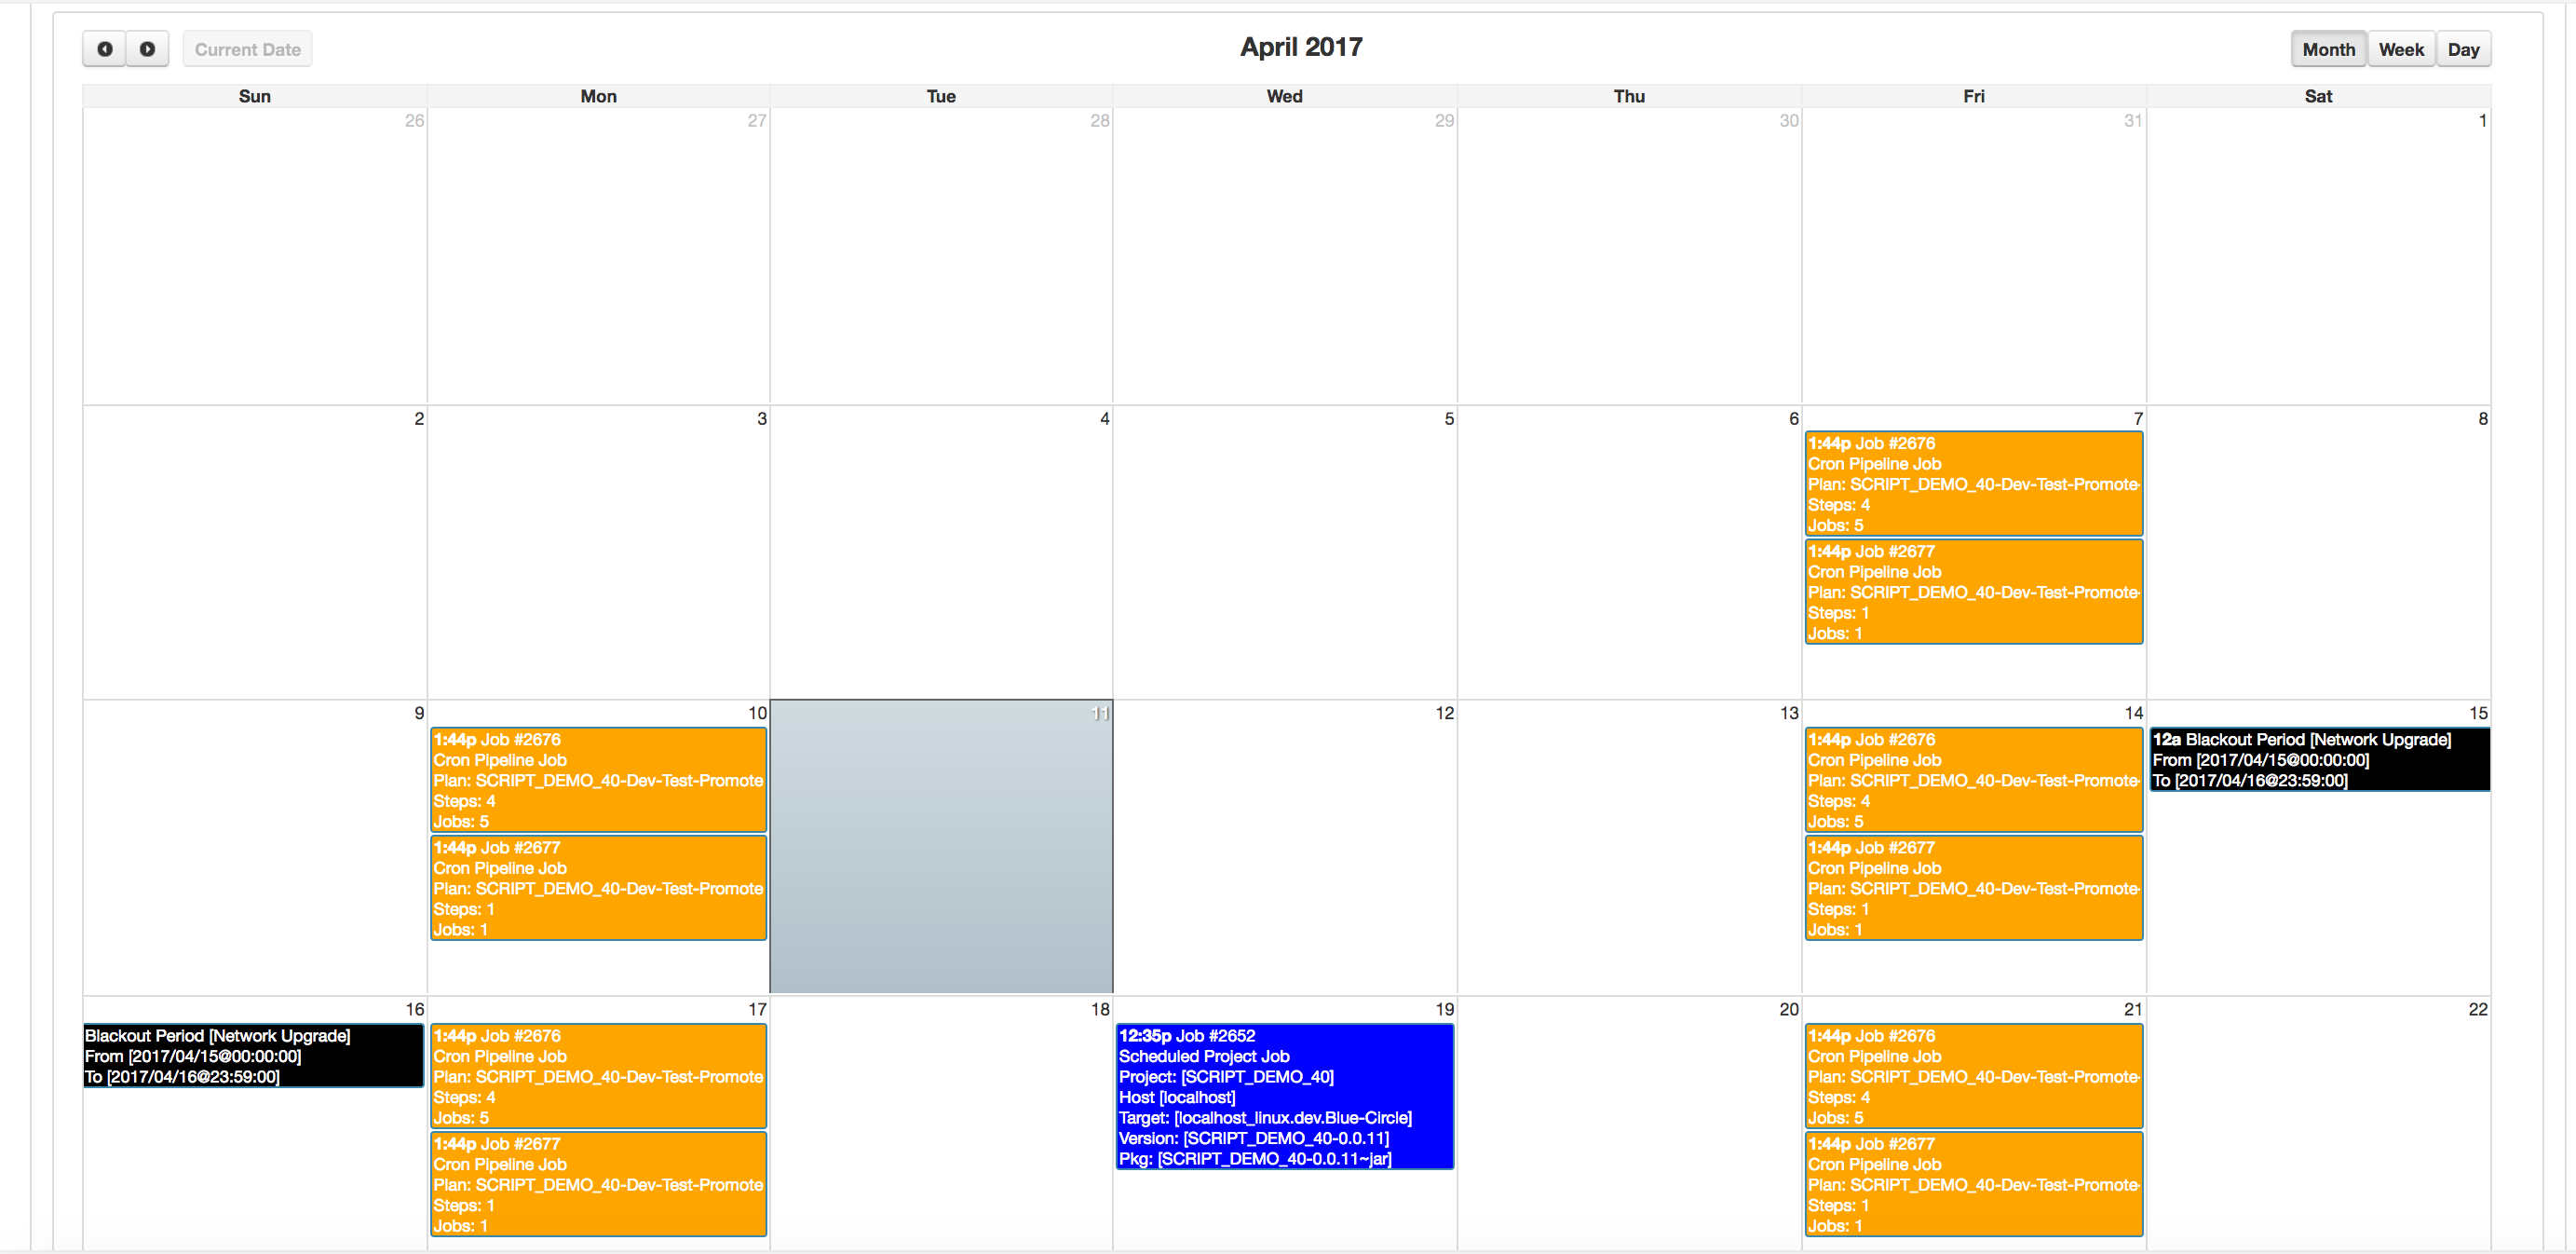
Calendar view of Deployments

The calendar view allows you to see all scheduled project, pipeline and other jobs, as well as blackout periods

1. Viewing the Calendar

  • Go to the calendar tab on the main dashboard Menu’ -> ‘My Dashboard’ or ‘Menu’ ->  ‘Jobs’ ->’Future Jobs’

2. Amending the Calendar entries

 
  • Ensure you have a role with the ‘Reschedule Job’ permission.
  • Go to the calendar tab on the main dashboard ‘Menu’ -> ‘My Dashboard’ or ‘Menu’ ->  ‘Jobs’ ->’Future Jobs’
  • Drag and drop entries to new time slots as required.
 

3. Creating Blackout Periods

  • Ensure you have a role with the Blackout period permissions (Add/Edit/Delete Blackout Period).
  • Go to the calendar tab on the main dashboard Menu’ -> ‘My Dashboard’ or ‘Menu’ ->  ‘Jobs’ ->’Blackout Periods’ 
  • Click on the ‘Add Blackout Period’ button. You will need the correct permissions to be able to click this button.
  • Create a new Blackout Period using the Dialog box (see right).
    • Give a Name
    • Optionally limit the Blackout Period to a Project Group
    • Optionally Limit the Blackout Period to an Environment Type
    • Add a start and end date
    • Choose an option for repeating Blackout Periods and complete the dialog shown
  • Save the Blackout Period
Click to enlarge